Introduction
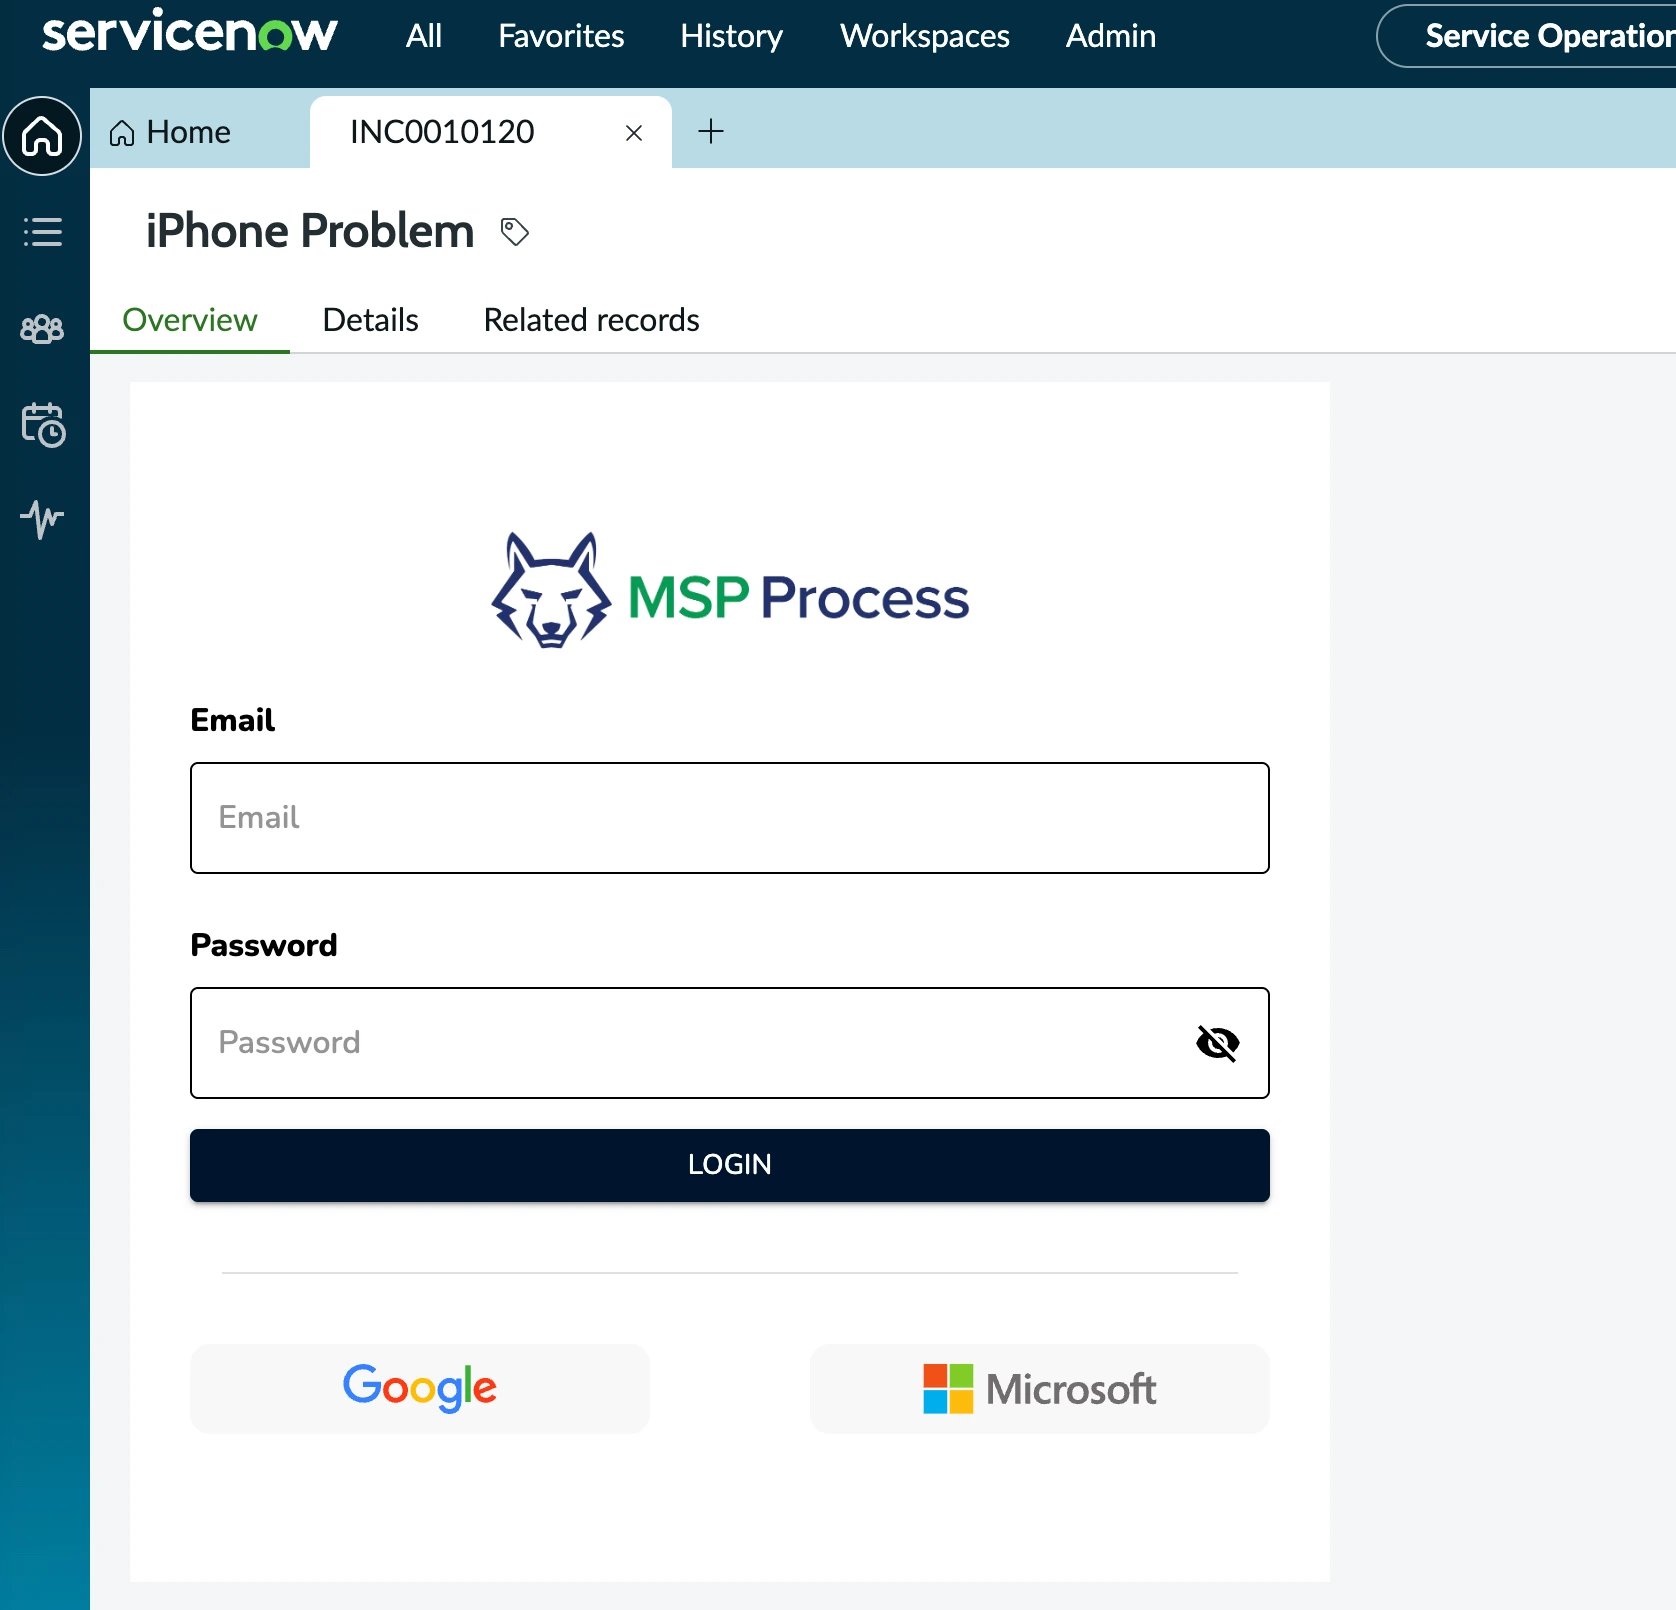
ServiceNow is a very popular ITSM platform in both the Enterprise IT space and in the “very large” end of the MSP market. MSP Process has a full integration module for ServiceNow Incidents that includes our End-user Verification, Secure Data Sharing, SMS Messaging WhatsApp Messaging and Tech Verification features. All of those capabilities are embedded right within the ServiceNow UI, making it easy to quickly access the functionality you need without having to open a separate UI. This KB article will walk you through how to set everything up, in both MSP Process and ServiceNow. There are separate instructions for setting things up in the “Classic” Incident view and the “Service Operations Workspace” view; feel free to pick whichever path makes the most sense for you.Creating the PSA Integration in MSP Process
- Login to MSP Process (https://app.mspprocess.com) as an Admin-level user
- Navigate to the Settings -> Integrations -> PSA Integrations page
- Click the Add new PSA button
-
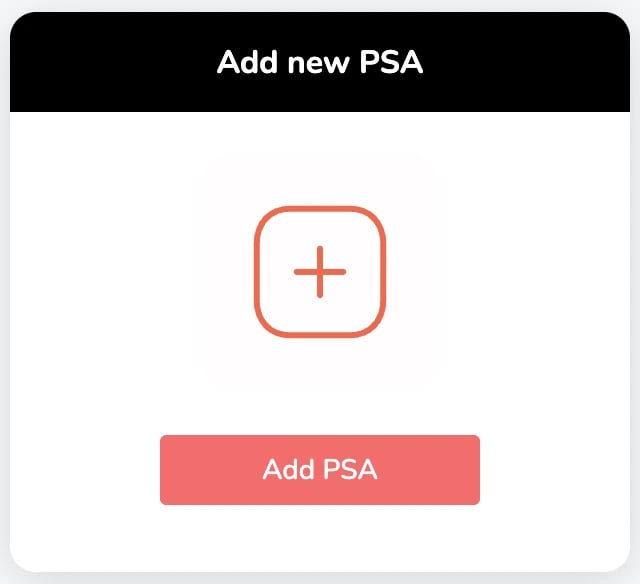
- Click the ServiceNow button
-

- Enter the URL to your ServiceNow instance, and enter your ServiceNow username and password
-
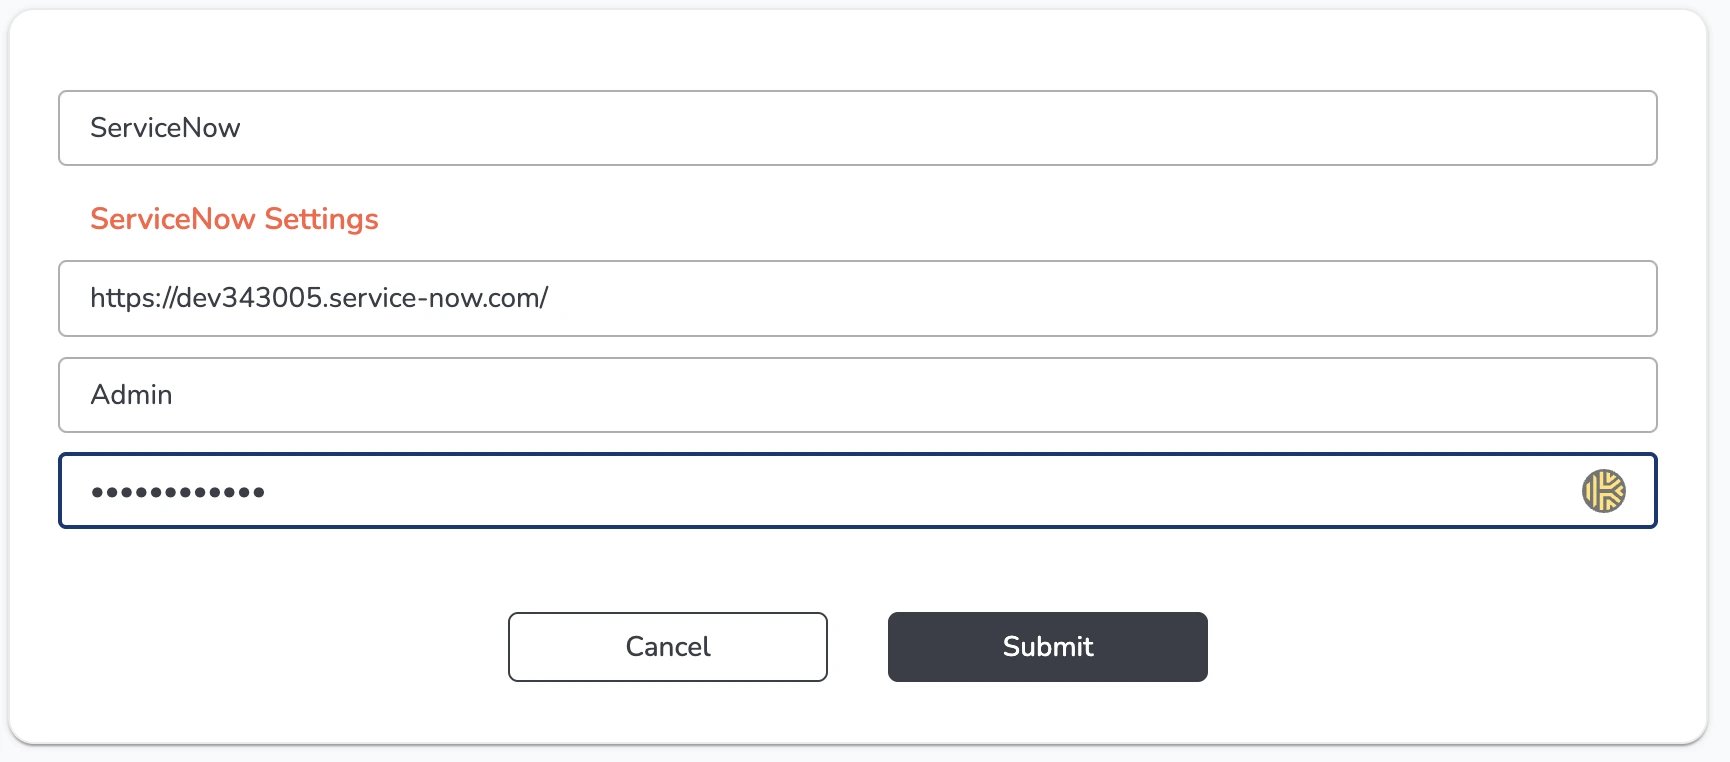
- Click Submit to save the integaration
Creating Ticket Properties
- Once the ServiceNow integration has been saved, you’ll be prompted to create a Ticket Properties bundle - these are the settings MSP Process will use when creating an Incident in ServiceNow. There are two use cases where MSP Process will create Incidents in ServiceNow:
- When an end-user sends an SMS message to your “SMS to Ticket” phone number
- When AI VoiceAssist takes a call from an end-user
- For this KB article, let’s create some AI VoiceAssist ticket properties:
-
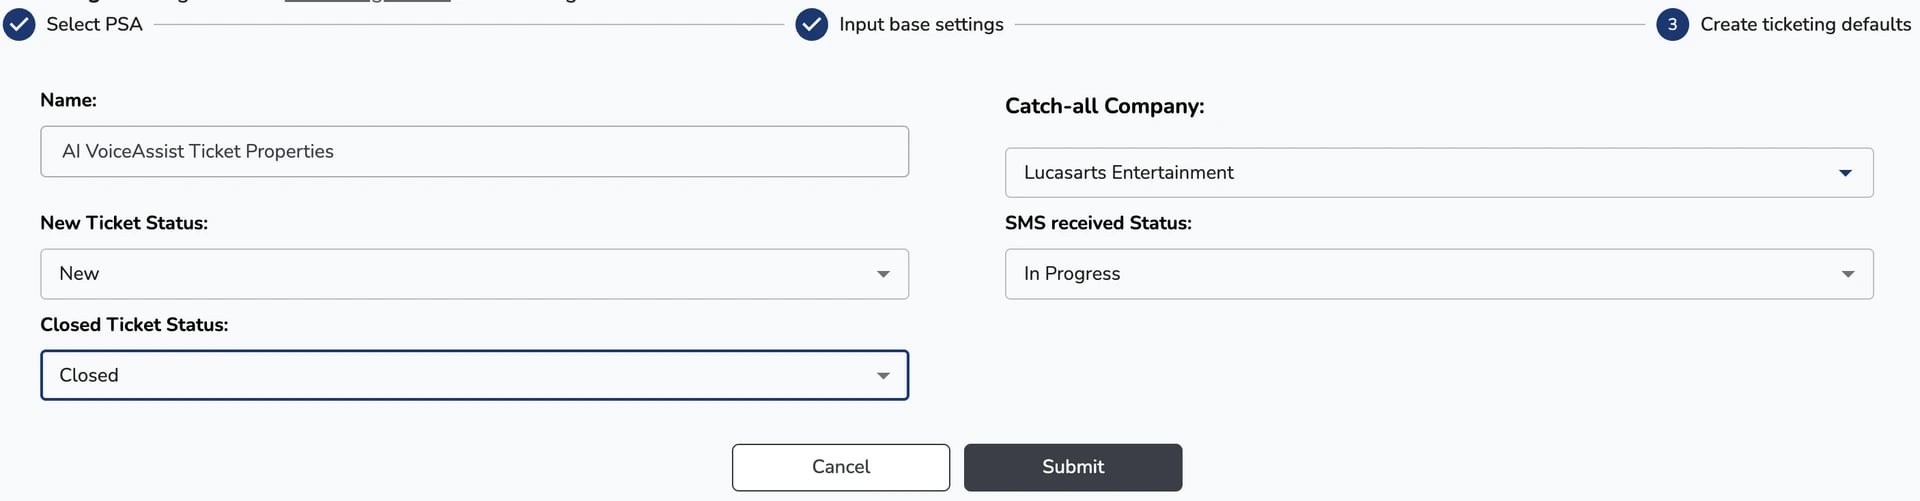
- Once you’ve filled everything in, click the Submit button
Obtaining the URL of your ServiceNow Integration in MSP Process
Now that you’ve saved your ServiceNow PSA integration, you’ll need to grab a URL before you go into ServiceNow to integrate our Pod into your Incident layout.- Click on your ServiceNow integration
-

- In your web browser, look at the URL of the page - for example, https://app.mspprocess.com/#/integrations/1085 - grab the number at the end of that URL (i.e. 1085) - you’ll need it in the next set of steps that we perform, in ServiceNow
Embedding the MSP Process Pod in the “Classic” Incidents Layout
- Login to your ServiceNow instance
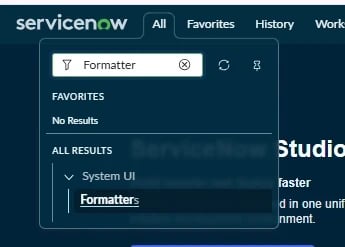
- Navigate to the System UI -> Formatters page
-
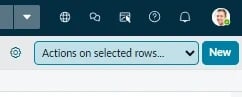
- Click the New button to create a new UI Formatter
-
- Fill in the fields as shown below:
- Name: MSP Process Pod
- Table: Incident
- Seismic Component: iFrame
- Application: Global
- Active: Yes
- Type: Formatter
-

- Navigate to UI Macros page
- Create a new macro, and paste in the following code - just make sure, on line 32, to replace the “925” number with the number from your ServiceNow integration:
- Go back to the System -> UI Formatter page, edit the UI Formatter you created earlier, and insert the name of the UI macro (with “.xml” extension) and click Update
-

- Navigate to Service Desk - Incidents
-
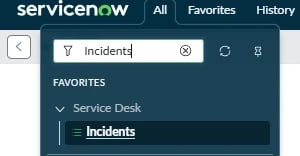
- Open an existing Incident
- At the top of the Incident, in the gray panel, right-click and choose to open the Form Builder (Configure -> Form Builder)
-
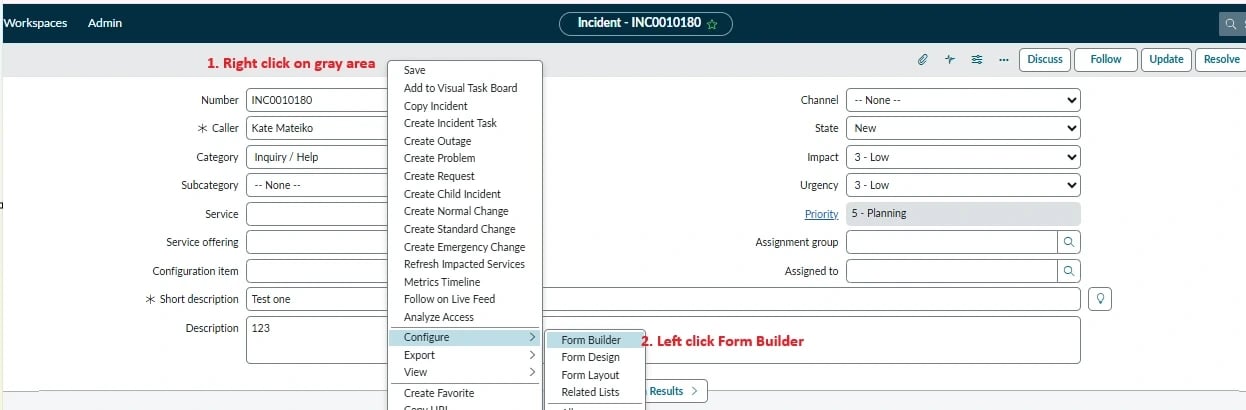
- Add a new section to place the MSP Process pod where you want:
-
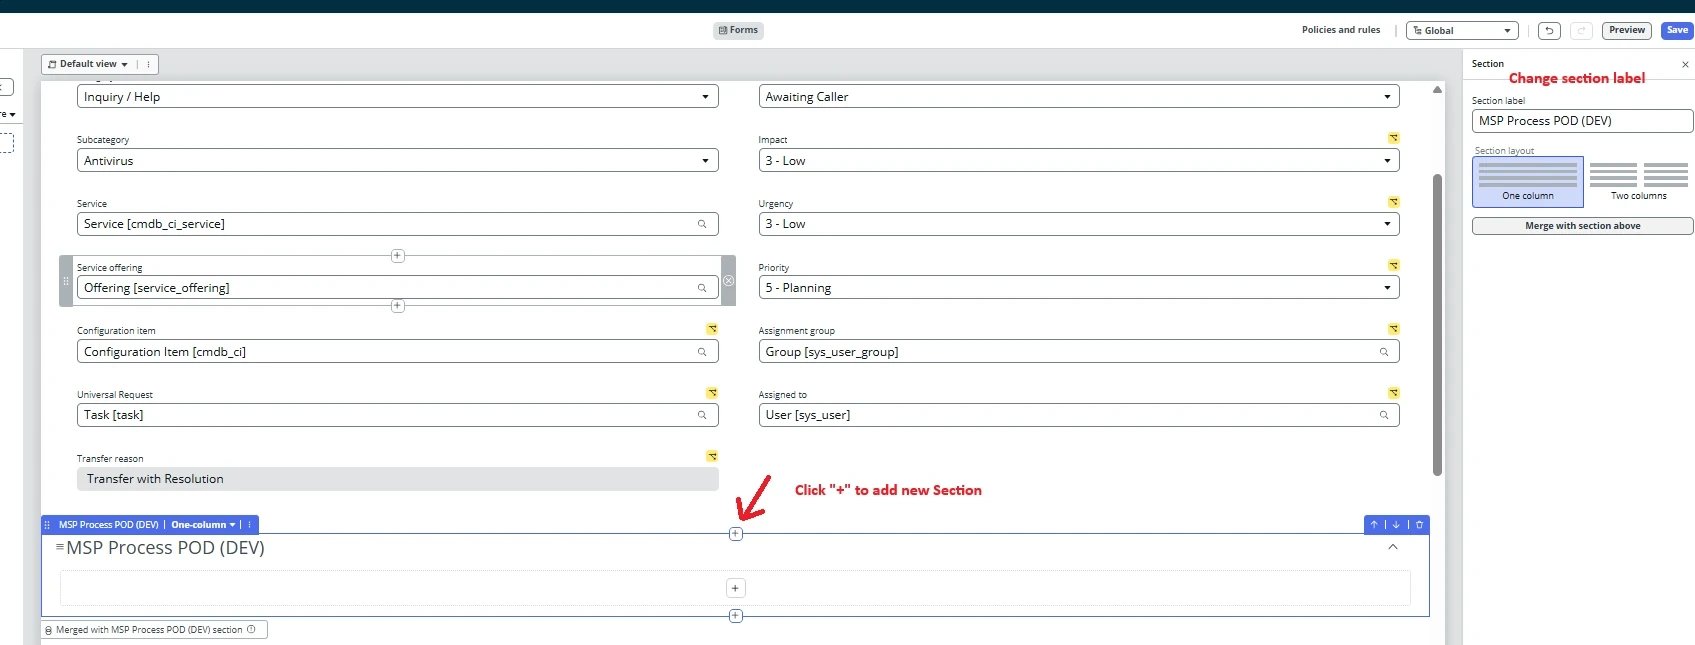
- Click “+” icon inside of the Section and switch to the Formatters list:
-
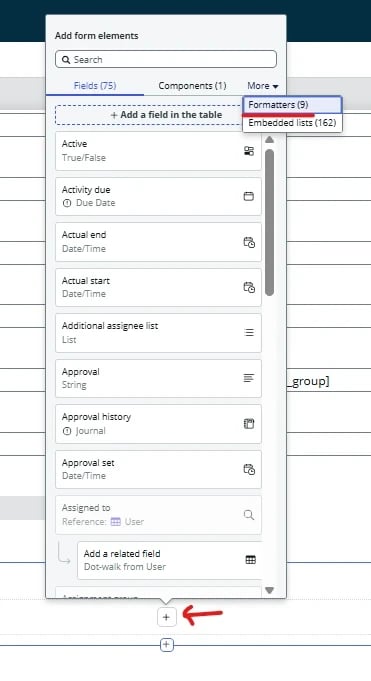
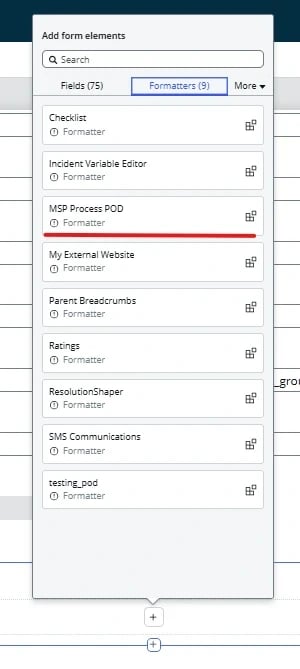
- Click on the MSP Process Pod Formatter, and then click the Save button for the Form:
-
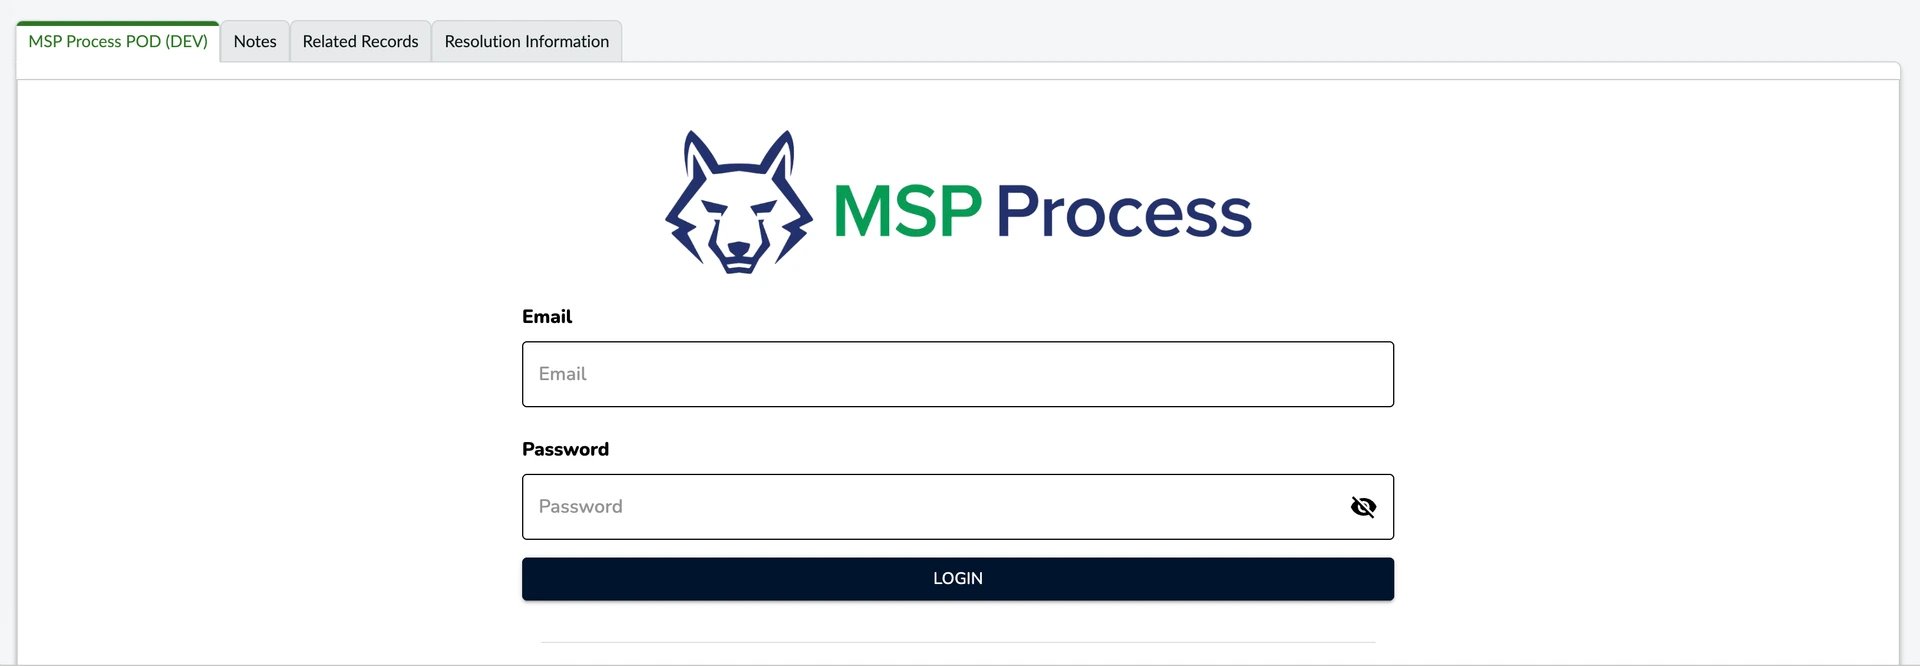
Embedding the MSP Process Pod in the “Service Operations Workspace” Incidents Layout
- In ServiceNow, navigate to the Now Experience Framework -> UI Builder page
-
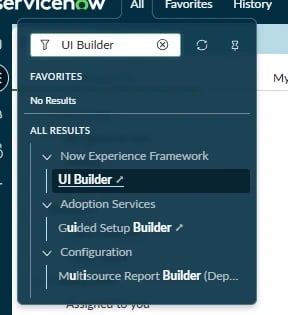
- From the top menu click on the “Page Collections” menu item
-

- Search for the page collection you want to edit. Your page collection names might be different, but a good starting point would be to search for SOW - Records tab left:
-

- Select the incident-overview page (your page name may be slightly different):
-
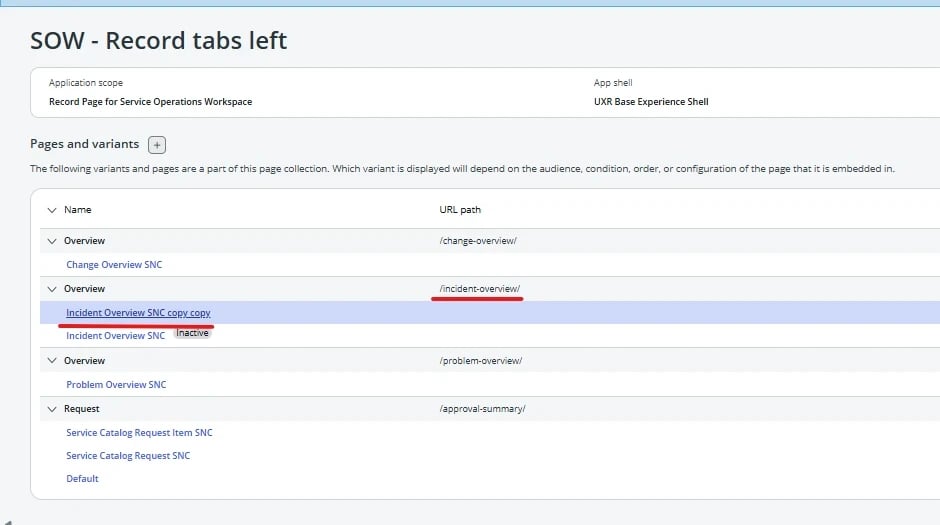
- Click the ”+” button, and add a new column where you want to insert the MSP Process pod
-
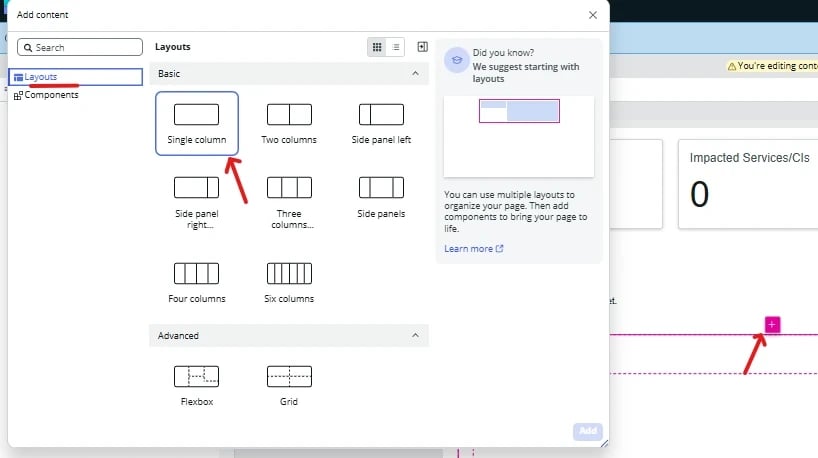
- Click the ”+” button inside the column you just added, and add an iFrame:
-
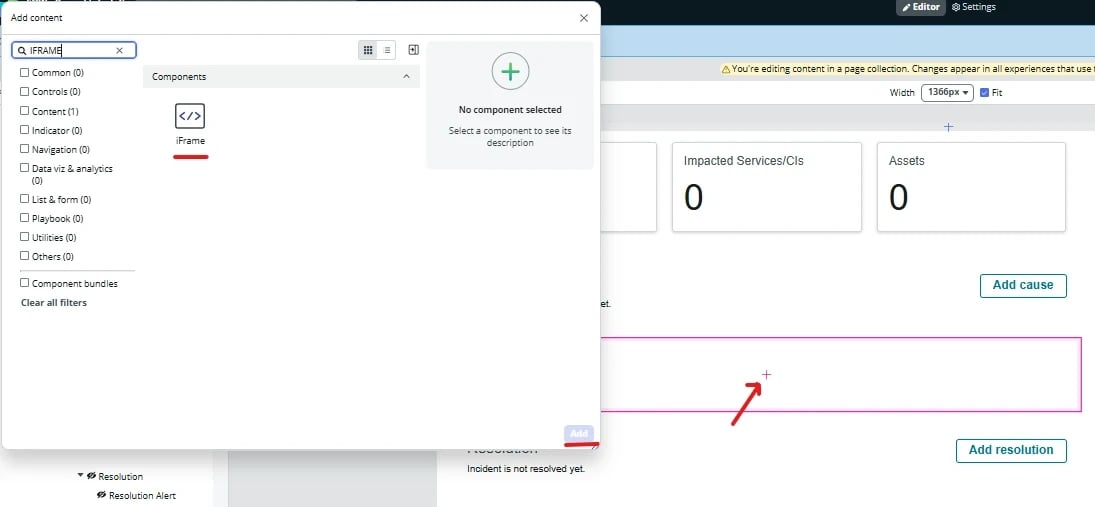
- Specify the Height (650 pixels) and Width (600 pixels) for this iFrame, and - in the Source field - click the bind data or use scripts button:
-
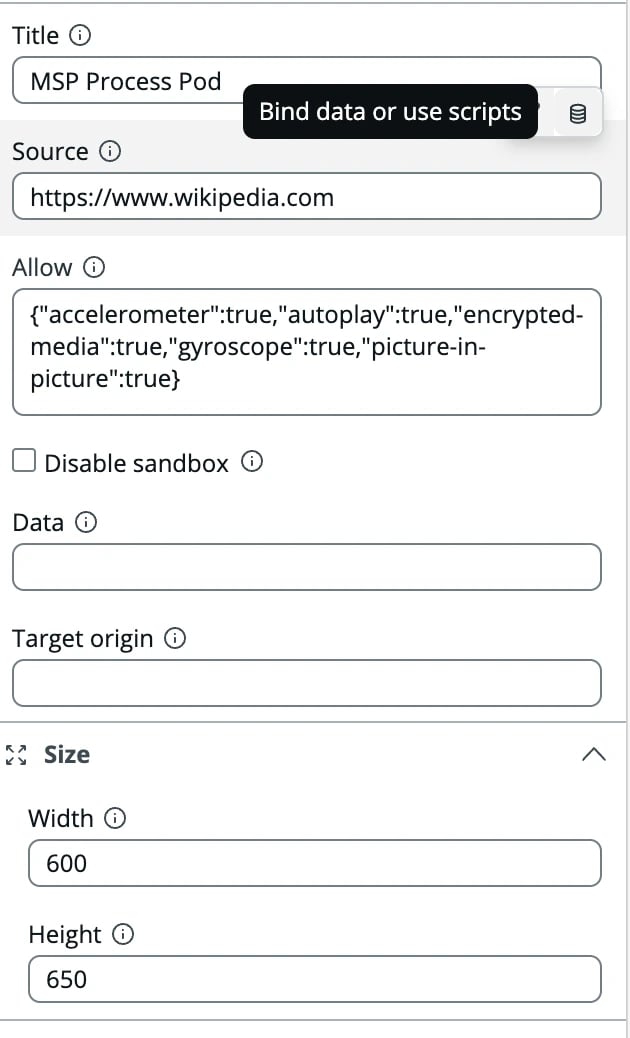
- In the top right-hand corner of the pop-up window that appears, click the Use script button:
-
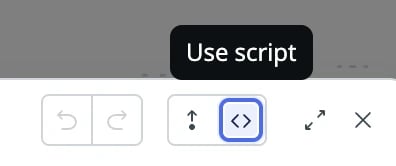
- Paste the code below, replace “925” with the number from your ServiceNow integration in MSP Process, and click Apply to save your changes:
- Save the page
- Open an Incident in the Service Operations Workspace, and you’ll see the MSP Process pod: